
How to crop a screenshot and add a backdrop
A tight crop tells people where to look before you've added a single arrow. A backdrop makes the result look finished when it goes into a doc, a slide or a post.
Open ShotlighterFree, no sign-up, nothing uploaded
Crop a screenshot
- Paste your screenshot into Shotlighter with ⌘V (Ctrl+V on Windows).
- Press C or click the crop tool. You'll see the whole screenshot, even if you've cropped it before.
- Drag over the area you want to keep. Not quite right? Just drag again.
- Press Enter to finish.
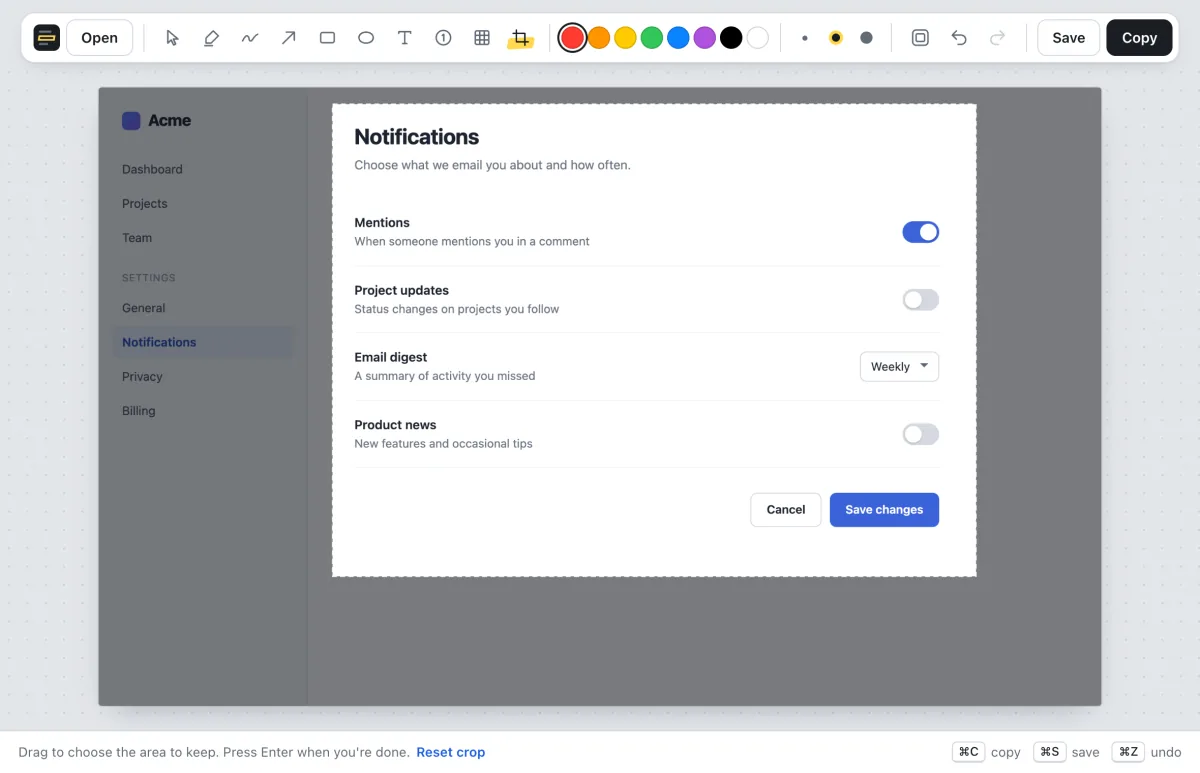
Nothing is thrown away while you edit. Press C again to change the crop. While you're cropping, Reset crop at the bottom of the window brings back the full screenshot. Only the area inside the crop ends up in the image you copy or save.
Add a backdrop
Press B, or click the backdrop button next to undo, to set the screenshot on a gradient with rounded corners and a soft shadow. Each press moves to the next backdrop: Mist, Peach, Lagoon, Graphite, Plain gray, then back to none. Shift+B goes the other way.
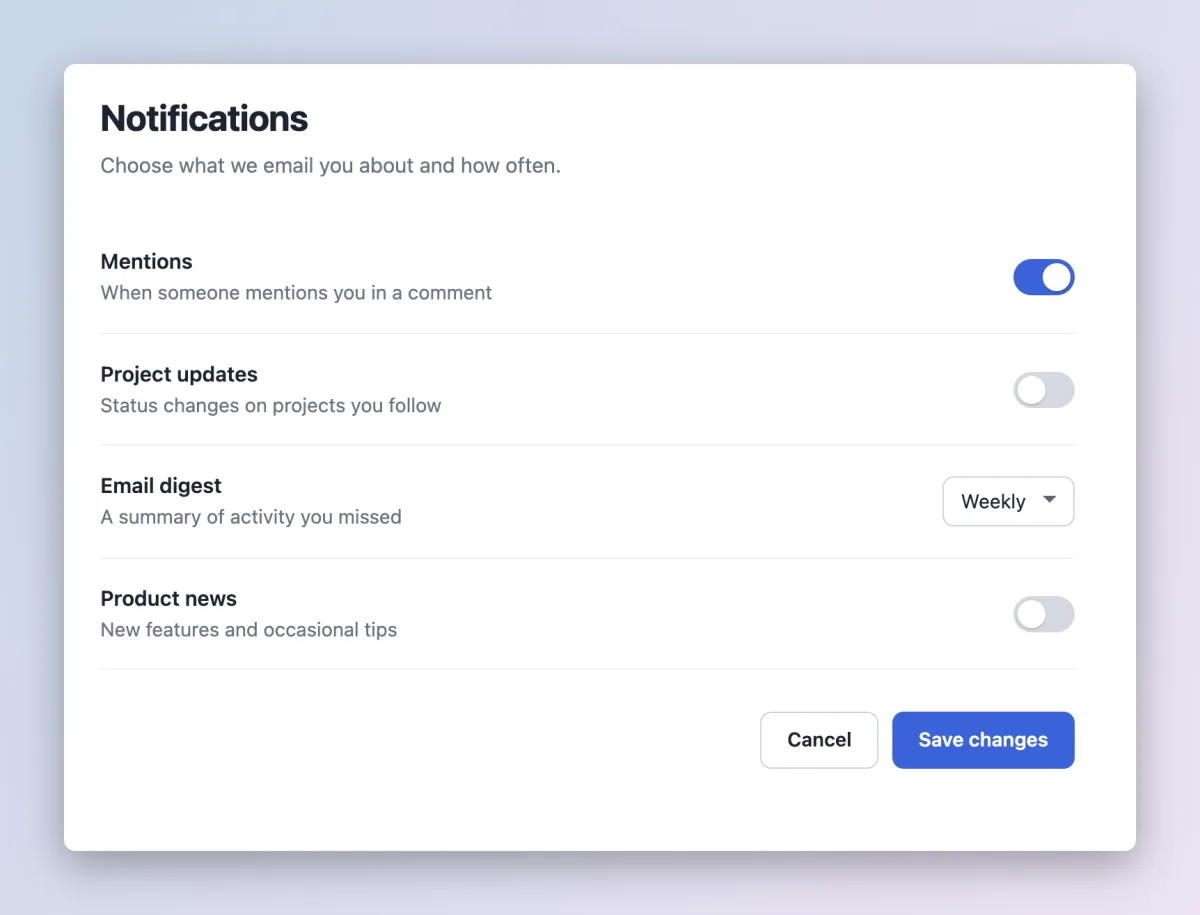
Which backdrop to use
- Mist or Plain gray for docs and help articles, where the screenshot should blend in.
- Peach or Lagoon for social posts, launch announcements and slides that could use some color.
- Graphite for dark-mode screenshots and dark slide themes.
- No backdrop when the image is going into a chat or a bug report and only the content matters.
Tips
- Leave a little room around the subject. A crop that touches the edge of a button or a line of text looks cramped.
- Crop before you annotate if you're not sure what will fit. Anything drawn outside the crop is left out of the final image.
- Crop away private details you don't need instead of covering them. See how to blur or redact a screenshot.
- It stays sharp. Shotlighter saves at your screenshot's full resolution, so the result looks crisp on high-resolution screens and in slides.
More guides
- How to highlight text in a screenshotClean, straight highlights that snap to the text.
- How to blur or redact private info in a screenshotPixelate or black out names, emails, keys and card numbers.
- How to add arrows, boxes and text to a screenshotPoint at exactly what you mean.
- How to make step-by-step instructions with screenshotsNumbered markers that count up on their own.
- How to take a screenshot on Mac or WindowsEvery shortcut, including copying straight to the clipboard.